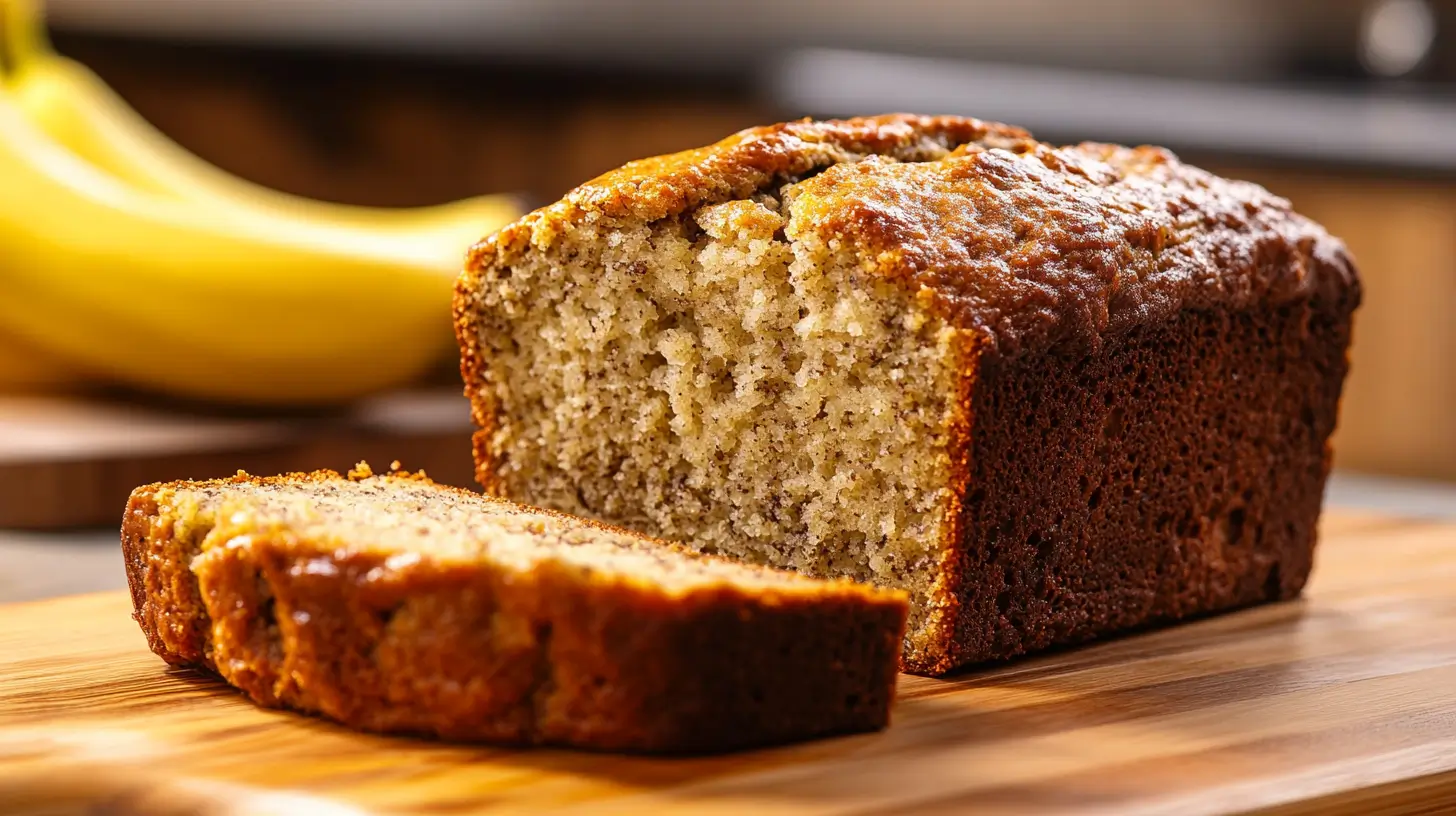
Banana bread is a timeless classic—moist, flavorful, and comforting. But did you know that a simple trick can take your banana bread from good to absolutely perfect? The secret lies in resting your batter before baking.
Many home bakers mix up their batter and toss it straight into the oven, missing out on a crucial step that enhances flavor, texture, and overall quality. By allowing your batter to rest, you’re giving the ingredients time to blend harmoniously, unlocking deeper banana flavors and creating a softer, more tender crumb.
In this article, we’ll dive into why resting your banana bread batter matters, how long to let it sit, and other expert techniques to ensure bakery-quality results. Whether you’re a seasoned baker or new to the world of homemade banana bread, these insights will elevate your baking game.
So, let’s uncover the science and technique behind this game-changing tip!
Table of Contents
1: Why Resting Your Banana Bread Batter Matters
The Science Behind Resting Batter
Baking is both an art and a science, and the magic behind resting banana bread batter lies in the chemical reactions that occur during this waiting period. When you mix your ingredients, the flour absorbs the wet components (bananas, eggs, and butter), allowing the gluten strands to relax. This results in a softer, fluffier texture rather than a dense, chewy loaf.
Additionally, during the resting period, the starches in the flour start breaking down, which improves moisture retention. That’s why banana bread made with rested batter is often more tender and less prone to drying out compared to those baked immediately.
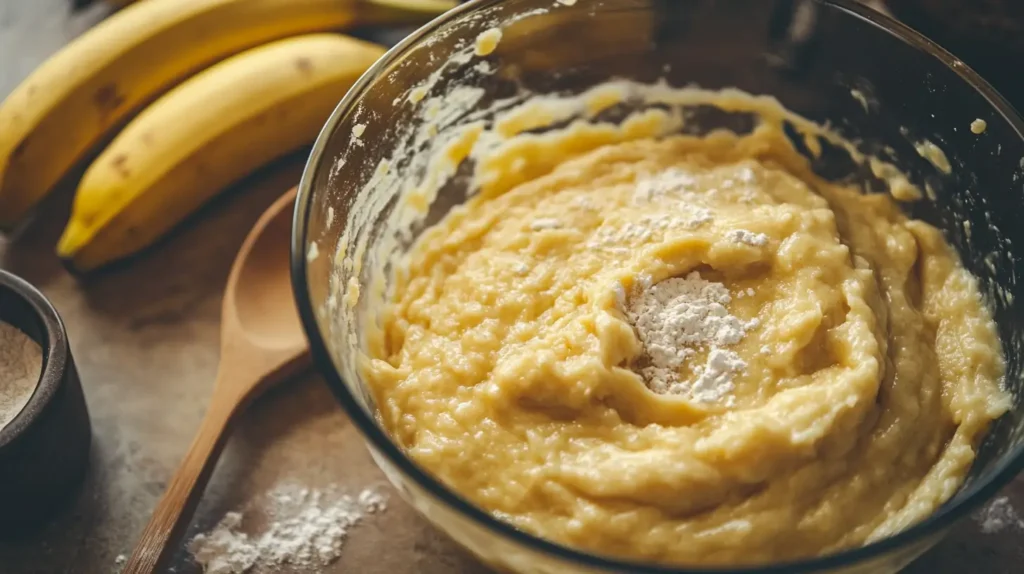
Letting the batter rest is the secret to softer banana bread.
How Resting Enhances Texture and Moisture
If you’ve ever had banana bread that felt too heavy or dry, improper gluten development might be to blame. Resting the batter lets the flour fully hydrate, preventing that tough, gummy texture that sometimes plagues quick breads.
Moreover, resting time gives the leavening agents—baking soda and baking powder—a head start. They begin interacting with the acidic components in the batter (like overripe bananas and yogurt or buttermilk, if used), creating tiny air pockets that lead to a more even rise. The result? A light, tender crumb with just the right balance of moisture.
Flavor Development: Unlocking Richer Banana Taste
Ever noticed that banana bread tastes even better the next day? That’s because flavors continue to develop over time. By letting the batter rest, the sugars and fats distribute more evenly, enhancing the natural sweetness of the bananas.
Additionally, enzymes in the bananas continue breaking down, releasing more of that deep, caramel-like banana essence. Instead of rushing the process, giving your batter time to rest allows the flavors to meld beautifully, leading to a richer, more indulgent bite.
2: The Best Way to Rest Your Banana Bread Batter
How Long Should You Let the Batter Rest?
So, how long should you wait before baking your banana bread? While some bakers argue that even a short rest can make a difference, the best results come from allowing the batter to sit for at least 30 minutes to an hour. This gives the flour time to absorb moisture, leading to a softer texture.
For those who are really patient, refrigerating the batter overnight can work wonders. The extended rest time enhances the flavor as the bananas break down further, creating a deeper, more caramelized taste. Many professional bakers swear by this method for getting a bakery-quality loaf.
Best Practices: Room Temperature vs. Refrigeration
You have two main options for resting banana bread batter:
- Room Temperature (30 minutes to 1 hour) – If you’re in a rush, this is a great option. Cover the batter with a clean kitchen towel or plastic wrap to prevent it from drying out.
- Refrigeration (Up to 24 hours) – For maximum flavor and texture, refrigerating the batter is ideal. Just be sure to bring it back to room temperature before baking to ensure even rising.
Whichever method you choose, don’t skip this crucial step! It’s a simple trick that makes a huge difference.
Common Mistakes When Resting Batter
Even though resting your batter is a game-changer, some mistakes can ruin your results. Avoid these common pitfalls:
- Letting the batter sit too long at room temperature – If left out for more than 2 hours, the leavening agents may lose their effectiveness.
- Skipping the rest time entirely – This leads to a denser, less flavorful loaf.
- Not stirring before baking – If you refrigerate your batter overnight, give it a gentle stir before pouring it into the pan to redistribute ingredients.
3: The Number One Mistake in Making Banana Bread
Overmixing: The Enemy of Soft Banana Bread
If your banana bread comes out tough, dry, or dense, chances are you’ve fallen into the most common baking trap—overmixing. While it might be tempting to beat your batter until it’s perfectly smooth, doing so overdevelops the gluten in the flour, leading to a chewy, rubbery texture.
A good rule of thumb? Mix just until the dry ingredients are incorporated. A few streaks of flour are totally fine! The batter should be slightly lumpy—think pancake batter rather than cake batter.
How to Mix Properly for a Perfect Loaf
To avoid overmixing, follow these simple steps:
- Mash the bananas separately before adding them to the batter. This prevents the need for excessive stirring.
- Use a spatula, not a whisk or mixer – A wooden spoon or rubber spatula allows for gentle folding rather than aggressive mixing.
- Stop as soon as the flour disappears – No need to keep going! The more you stir, the tougher the bread.
4: Troubleshooting: Why Your Banana Bread Doesn’t Rise in the Middle
The Role of Baking Soda and Baking Powder
One of the most frustrating banana bread problems is when the center sinks or stays dense. This often happens due to improper leavening. Both baking soda and baking powder play a crucial role in helping your banana bread rise, but they work differently.
A common mistake: Banana bread that didn’t rise properly
- Baking soda requires an acidic ingredient (like bananas, yogurt, or buttermilk) to activate and create bubbles.
- Baking powder contains its own acid and activates when mixed with liquid and again when heated.
If your bread isn’t rising properly, check that:
Your leavening agents are fresh—baking soda and powder lose effectiveness over time.
You’re using the right amount—too little results in a dense loaf, while too much can make the bread collapse.
You’re not overmixing—this can deflate air bubbles needed for a good rise.
How Oven Temperature Affects the Rise
Your oven’s heat is just as important as your ingredients. If the temperature is off, your banana bread may rise too quickly and then fall, or not rise at all.
- Too hot → The outside bakes too fast, trapping uncooked batter inside. This can cause the middle to sink.
- Too cool → The bread doesn’t rise properly, resulting in a dense, underbaked loaf.
Fix it: Always preheat your oven and use an oven thermometer to confirm the correct temperature. Aim for 325°F to 350°F (163°C to 177°C) for even baking.
Fixing Dense or Soggy Banana Bread
If your banana bread is too heavy or wet inside, here’s how to fix it:
Use the right banana ratio—too much banana can weigh down the batter.
Don’t underbake—insert a toothpick in the center; if it comes out clean, it’s done.
Try resting your batter (as discussed in Part 1) to improve structure.
5: The Perfect Banana Bread Formula
Key Ingredient Ratios for Success
If you want perfectly moist and fluffy banana bread every time, you need the right balance of ingredients. Here’s a simple formula to follow:
- 1 cup (240g) mashed bananas – Provides moisture and natural sweetness.
- 1 ¾ cups (220g) flour – Gives structure without making the bread too dense.
- ½ cup (120ml) butter or oil – Fat keeps the loaf tender.
- ¾ cup (150g) sugar – Adds sweetness and contributes to browning.
- 1 teaspoon baking soda – Essential for rise and texture.
- ½ teaspoon salt – Balances the flavors.
- 2 eggs – Helps bind everything together.
This basic ratio works as a foundation—adjust it slightly depending on the texture and sweetness you prefer!
How to Adjust for Moisture and Sweetness
If you like extra-moist banana bread, try adding:
2-3 tablespoons of yogurt, sour cream, or buttermilk.
A little brown sugar for more caramel-like depth.
If you prefer a less sweet version, reduce the sugar to ½ cup or swap in honey or maple syrup.
Alternative Ingredients for Dietary Needs
- Gluten-free – Use a 1:1 gluten-free flour blend.
- Dairy-free – Swap butter for coconut oil or vegetable oil.
- Vegan – Replace eggs with flaxseed meal + water or unsweetened applesauce.
For an easy variation, try this banana bread recipe with only 2 bananas.
6: Expert Tips for the Ultimate Banana Bread
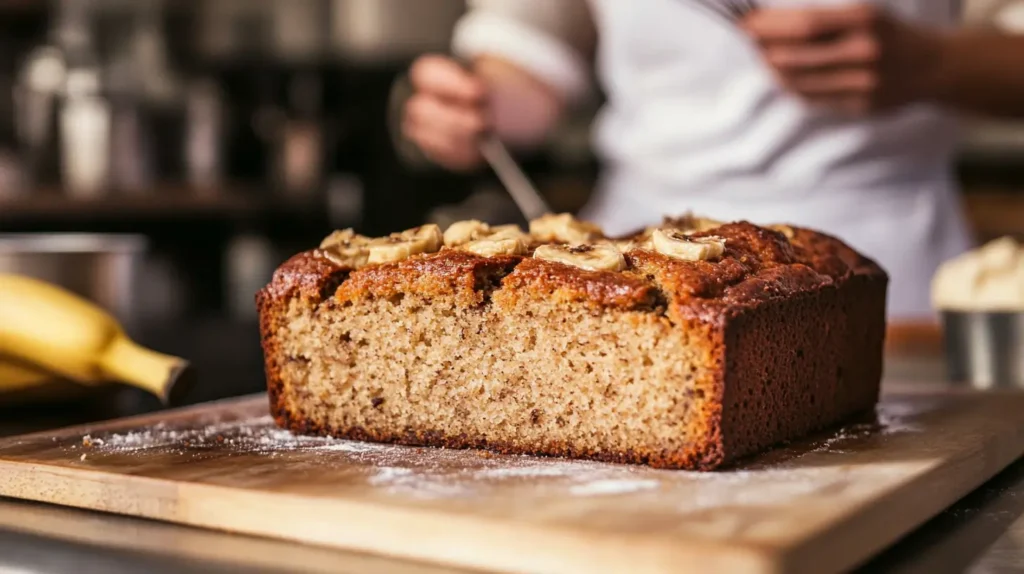
Using the right bananas gives your bread the perfect taste.
Choosing the Right Bananas for Maximum Flavor
Not all bananas are created equal when it comes to baking. The secret to rich, sweet banana bread? Overripe bananas. The darker the peel, the better!
- Best choice: Bananas with black or deep brown spots. These have the highest sugar content and mash easily.
- Avoid: Green or firm yellow bananas—they lack the sweetness and softness needed for great banana bread.
Tip: If your bananas aren’t ripe enough, place them in a brown paper bag overnight, or bake them in the oven at 300°F (150°C) for 10-15 minutes until soft and fragrant.
The Secret Ingredient That Takes It to the Next Level
Want to make your banana bread stand out? Try adding a special ingredient for an extra depth of flavor.
Brown butter – Melting and browning your butter before adding it to the batter gives a nutty, caramel-like taste.
Cinnamon or nutmeg – Just ½ teaspoon enhances the warm, cozy flavors.
A splash of vanilla or rum extract – Boosts sweetness and aroma.
A spoonful of sour cream or yogurt – Adds moisture and a slight tang.
How to Store and Keep Your Banana Bread Fresh
To keep your banana bread moist and delicious for days:
- At room temperature: Wrap in plastic wrap or store in an airtight container for up to 4 days.
- In the fridge: Keeps for about a week, but may dry out slightly.
- Freezing: Slice, wrap in plastic, and freeze for up to 3 months. Thaw at room temperature or microwave for a quick warm-up.
7: FAQs
Should you let banana bread rest before baking?
Absolutely! Unlock the Secret to Perfect Banana Bread: Rest Your Batter for Better Results! by letting it sit for at least 30 minutes before baking. This step allows the flour to absorb moisture, helping to create a fluffier, more flavorful loaf.
What is the number one mistake made when making banana bread?
The biggest mistake? Overmixing the batter. Stirring too much overdevelops gluten, making the bread dense and tough. Mix just until the flour disappears—a few lumps are totally fine!
Why does my banana bread not rise in the middle?
Your banana bread might not rise properly due to:
- Old baking soda or baking powder—always check expiration dates.
- Incorrect oven temperature—use an oven thermometer for accuracy.
- Too much banana or liquid—this can weigh down the batter.
What is the formula for banana bread?
A solid banana bread formula follows this simple ratio:
- 1 cup mashed bananas
- 1 ¾ cups flour
- ½ cup butter or oil
- ¾ cup sugar
- 1 teaspoon baking soda
- 2 eggs
This creates the perfect balance of moisture, structure, and sweetness!
8: Conclusion
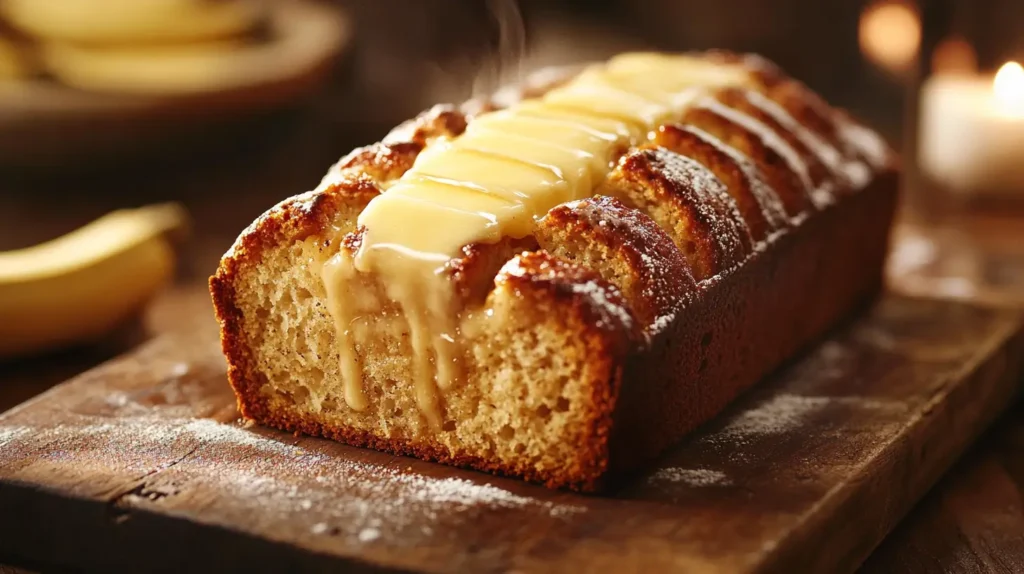
Banana bread is a beloved classic, but small tweaks can make a huge difference in the final result. The key takeaway? Unlock the Secret to Perfect Banana Bread: Rest Your Batter for Better Results! By letting your batter sit before baking, you allow flavors to develop, gluten to relax, and moisture to distribute evenly—leading to a loaf that is fluffier, more flavorful, and perfectly tender.
If you’ve ever wondered why your banana bread turns out dense or dry, the answer lies in technique. Unlock the Secret to Perfect Banana Bread: Rest Your Batter for Better Results! This simple step enhances texture and taste, ensuring a bakery-quality loaf every time. Pair this with using overripe bananas, gentle mixing, and proper baking temperatures to achieve the ultimate banana bread success.
Whether you’re sticking to a classic recipe or experimenting with flavors like brown butter or cinnamon, Unlock the Secret to Perfect Banana Bread: Rest Your Batter for Better Results! This trick will take your homemade loaf to the next level.
Now that you know the secrets, it’s time to put them to the test! Grab those ripe bananas, mix up a batch, and enjoy a slice of the best banana bread you’ve ever made. Happy baking!
What is your opinion about this recipe: Ditalini Pasta Guide: Health Benefits, Recipes & Storage Tips
Print
Unlock the Secret to Perfect Banana Bread: Rest Your Batter for Better Results!
- Total Time: 1 hour 10 minutes (including rest time)
- Yield: 1 loaf (about 10 slices)
- Diet: Vegetarian
Description
Discover the secret to making the best banana bread! By letting your batter rest before baking, you’ll achieve a fluffier, more flavorful, and perfectly moist loaf. This easy recipe will change the way you bake banana bread forever!
Ingredients
- 3 ripe bananas, mashed
- 2 cups (250g) all-purpose flour
- 1 teaspoon baking soda
- ½ teaspoon salt
- ½ cup (115g) unsalted butter, melted
- ¾ cup (150g) granulated sugar
- 2 large eggs
- 1 teaspoon vanilla extract
- ½ cup (120ml) buttermilk (or yogurt for extra moisture)
- ½ teaspoon cinnamon (optional, for extra warmth)
- ½ cup (60g) chopped walnuts or chocolate chips (optional)
Instructions
Step 1: Prepare the Batter
- In a large bowl, mash the ripe bananas until smooth.
- Add the melted butter, sugar, eggs, and vanilla extract. Whisk until combined.
- In a separate bowl, whisk together the flour, baking soda, salt, and cinnamon.
- Gradually add the dry ingredients to the wet ingredients, stirring gently until just combined.
- Fold in the buttermilk (or yogurt) for extra moisture. If using walnuts or chocolate chips, fold them in now.
Step 2: Let the Batter Rest
- Cover the bowl with plastic wrap and let the batter rest for 30-60 minutes at room temperature (or refrigerate overnight for deeper flavor).
Step 3: Bake to Perfection
- Preheat the oven to 350°F (175°C) and grease a 9×5-inch loaf pan.
- Pour the rested batter into the pan and smooth the top.
- Bake for 50-60 minutes, or until a toothpick inserted into the center comes out clean.
- Allow to cool in the pan for 10 minutes before transferring to a wire rack.
Notes
- Don’t skip the rest time! It helps develop flavor and ensures a soft, tender crumb.
- Overripe bananas (with brown spots) work best for maximum sweetness.
- Store banana bread in an airtight container at room temperature for up to 4 days or freeze for up to 3 months.
- If your loaf is browning too quickly, tent it with foil during the last 15 minutes of baking.
- Prep Time: 10 minutes
- Cook Time: 50-60 minutes
- Category: Breakfast
- Method: Baking
- Cuisine: American